How to Prepare for Plastering in Chipping Norton
Preparation is where most DIY plastering projects go wrong. This guide covers what Chipping Norton homeowners should know about getting surfaces ready for a professional-quality result.
Practical access matters on plastering projects: the A44 and A361 cross here at the gateway to the Cotswolds, which keeps travel time low and your quote tighter. We regularly travel to Burford (10 mi S) and Woodstock (11 mi SE) for similar jobs. Premium trade paints (Mylands, F&B, Tikkurila where it makes sense) — not contractor white. Final coat photos and a written guarantee in your inbox before we hand back keys. Typical kit on a Chipping Norton job: Mirka Deros sander with HEPA extraction, Festool dust track, Wagner sprayer for cabinets, brush-and-roller finish for walls. Common spec on these projects: zinsser BIN primer over stains, two-pack filler on knocks, caulk to crisp lines, water-based eggshell for low-odour curing.
Step-by-Step Preparation
Clear and protect the room
Plastering is messy work. Remove all furniture or move it to the centre and cover with heavy dustsheets. Protect flooring thoroughly — plaster drips are difficult to remove.
Remove old wallpaper and loose material
Strip all wallpaper and remove any loose or flaking plaster. The new plaster needs a solid surface to bond to.
Treat any damp
Damp patches must be treated before plastering or the new plaster will fail. Identify and fix the source of moisture first.
Apply PVA bonding coat
A PVA solution applied to walls helps new plaster bond to old surfaces. This is essential on smooth, non-porous surfaces.
Plan drying time
New plaster needs 2–4 weeks to dry fully before painting. Factor this into your project timeline.
Common Mistakes to Avoid
Painting new plaster too soon — trapping moisture and causing paint to peel
Not treating damp before plastering — the same problem returns within months
Leaving wallpaper on walls under new plaster — it creates a weak bond
Heating rooms too aggressively — causes plaster to dry too fast and crack
Not protecting floors properly — plaster splashes stain carpets and wood permanently
What We Handle
We handle complete room preparation, PVA application, plastering, and cleanup. We'll advise on drying times and schedule decorating to follow.
DIY vs Professional
Plastering is one of the hardest DIY skills. A professional plasterer achieves in hours what takes a beginner days, with a far smoother result.
Plastering Preparation Notes for Chipping Norton
One of the things we've learned working plastering prep jobs in Chipping Norton: traditional UK construction methods typical of Chipping Norton reacts differently to modern paints than newer-build construction does. We adjust our specification accordingly — often using breathable systems where appropriate.
Chipping Norton plastering prep customers typically have one of two starting points: a property near Blenheim Palace that's seen better days, or a recent purchase in the OX7, OX18, OX28 area that needs bringing up to standard. Our process handles both equally well.
One pattern we see consistently across OX18 and OX29 is ironstone window cill repair before painting in Witney and Burford. It's not always obvious from the street, but it shows up almost immediately during a proper survey. Treating it correctly takes longer than ignoring it, but the plastering finish that goes on top will outlast a quick-cover job by years rather than months.
Work near the Windrush valley tends to involve the older end of the local housing stock. Recurring themes here include Cotswold stone barn conversion exposed beam staining and the careful prep needed before any topcoat goes near traditional UK construction methods typical of Chipping Norton. We've developed a sequence for these properties that addresses the substrate first — fillers, primers, and stabilisers chosen for the specific construction — rather than relying on the paint itself to compensate for poor preparation.
Specific issues we encounter often in Chipping Norton include Cotswold stone barn conversion exposed beam staining, Cotswold stone barn conversion exposed beam staining, and Cotswold stone barn conversion exposed beam staining. Each one has its own correct response, and lumping them together under "preparation" doesn't do justice to how much the right approach extends the life of a plastering finish. Our quotes itemise this work so you can see exactly what's being done and why.
Local material reality matters: traditional UK construction methods typical of Chipping Norton dominates parts of Chipping Norton that newer build does not, and the local climate adds its own demands. Oxfordshire sees relatively dry winters compared to the south-west but properties on the Thames floodplain can suffer rising damp. Combined, this means our plastering specifications for properties around Blenheim Palace will often differ noticeably from those a few postcodes away — and rightly so, given how differently those properties behave over a ten-year horizon.
Within OX7 alone we've handled everything from Cotswold stone barn conversion exposed beam staining through to ironstone window cill repair before painting in Witney and Burford, and the postcode boundary running through Chipping Norton means properties on the OX18 side often present slightly different issues again. Most plastering jobs in the area touch on at least one of these patterns, which is why we always survey thoroughly before quoting — generic per-room pricing rarely matches what a Chipping Norton property actually needs.
Preparation FAQs — Plastering in Chipping Norton
What preparation do Victorian villas need before plastering?
Victorian villas in Chipping Norton often need specific surface treatment — checking for damp, repairing cracks, and selecting the right primers. We assess all this during our initial visit.
How should I prepare my Chipping Norton home for plastering?
Remove or cover valuables, clear surfaces near walls, and ensure access to the rooms being worked on. We handle all surface preparation — filling, sanding, priming, and protection of fixtures.
How long does preparation take for plastering?
Preparation typically takes 30-50% of the total project time. It might seem like a lot, but it's what makes the difference between a finish that lasts 2 years and one that lasts 10.
What happens if you find damp during preparation?
We'll flag any issues immediately and discuss options. Minor damp can often be treated as part of the project. For more serious issues, we'll recommend appropriate treatment before painting.
Should I remove wallpaper before you start?
We can handle wallpaper removal as part of the project. In fact, we prefer to do it ourselves to ensure the surface underneath is properly prepared for a lasting finish.
Do I need to move furniture before plastering?
We move and protect furniture as part of our service. For larger items, just clear small personal items. We'll take care of the rest.
Do you do commercial plastering near Chipping Norton?
Yes. We regularly take commercial plastering jobs around Worcester Road Industrial Estate — a key local industrial estate — and can quote inside or outside business hours.
Do you cover the areas around Chipping Norton?
Yes — It sits between Banbury (about 12 miles NE), Woodstock (about 11 miles SE) and Burford (about 10 miles S). and our normal plastering radius extends right across Oxfordshire. No call-out fee for sites in this radius.
Skip the DIY — Get Expert Results
Professional plastering in Chipping Norton with meticulous preparation included. Call for a free quote.
Recent Plastering Work Near Chipping Norton
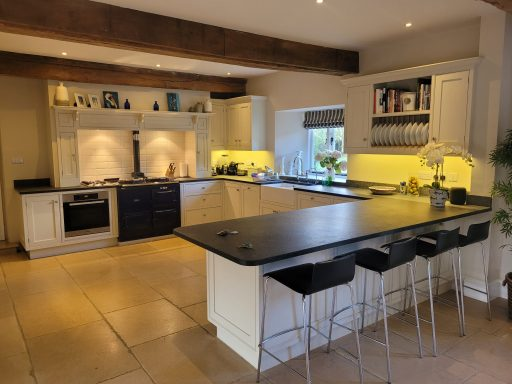
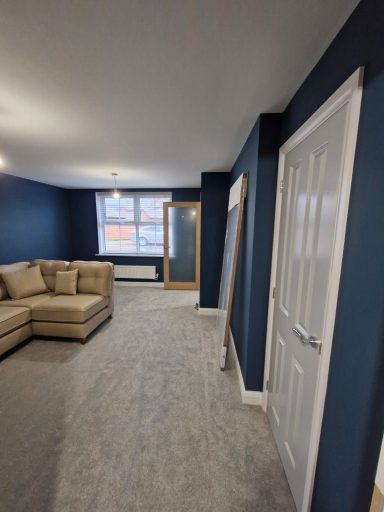
Real projects from our portfolio around West Oxfordshire.
Get a clear plastering quote for Chipping Norton — no surprises
Our Chipping Norton quotes spell out prep, materials, coats and timeline so you can compare like-for-like. If you've had another quote, we're happy to walk through the differences.